Extracting Honey
July 10, 2024
By Leilani Pulsifer
In British Columbia, honey extraction can begin as early as mid-July in some regions! Once combs are 2/3 capped, supers can be removed, and the honey extraction can begin. For small-scale apiaries, harvesting honey can be very rewarding, however not cost-effective to invest in a honey extractor. If that’s you, consider collaborating with other small-scale apiaries to rent an extractor for the season. Alternatively, continue reading for a guide on how to harvest honey without an extractor. For large-scale apiaries, it’s far more efficient and cost effective (not to mention less sticky) to invest in a honey extractor. Wherever it is that you land, read on to learn how to harvest honey with or without an extractor!
The first step, regardless of what method you use, is to set up your extracting area. Consider extracting honey in a garage or a tented area with a fan nearby to aid in airflow and ventilation. Set up bowls of warm water and cloths to keep things clean. This can prevent bees and wasps from gathering around your extraction area.
Extracting Honey WITHOUT an Extractor
Method 1: Crush & Strain
Most effective for beekeepers with only a few hives, this method simply requires you to scrape the comb into a bucket, crush it with a tool (or your hands if you don’t mind the mess) to remove the honey, and strain it overnight through a sieve into a receptacle. Periodically mix the honey and comb to speed up the draining process.
Tip: strain the honey and comb mixture in a warm room to encourage the flow of honey.
Method 2: Cutting Comb
For those of you that enjoy eating the wax alongside the honey (yes, you can eat beeswax!) this method might be for you. Keep in mind that this method only works on frames that do not have foundation or have a foundation specifically made for this honey extraction process. For this method, carefully use a sharp kitchen knife to cut the comb into your desired shape, trying to keep as many cells intact as possible. Alternatively, you can purchase honeycomb frames or cassettes that you place inside the hive (no foundation necessary) and the bees naturally make the honeycomb into premade sections. Move your cut section into an airtight container and freeze for 1-2 nights to kill off potential pests.
Tip #1: use a warm knife to help cut through the comb.
Tip #2: avoid stacking your comb while storing it to prevent the bottom comb from being crushed.


Extracting Honey WITH an Extractor
Step 1: Set up extraction equipment. This includes items like your honey extractor, a heated knife, a tarp, a bucket and strainer, etc.
Step 2: Collect honey frames. Clear the honey frames or super of bees using your preferred method - this could be by using a smoker or a bee brush for example.
Step 3: Uncap the frames. Prepare your frames for the extraction process by removing the cappings (wax seals) that honey bees use to protect their honey.
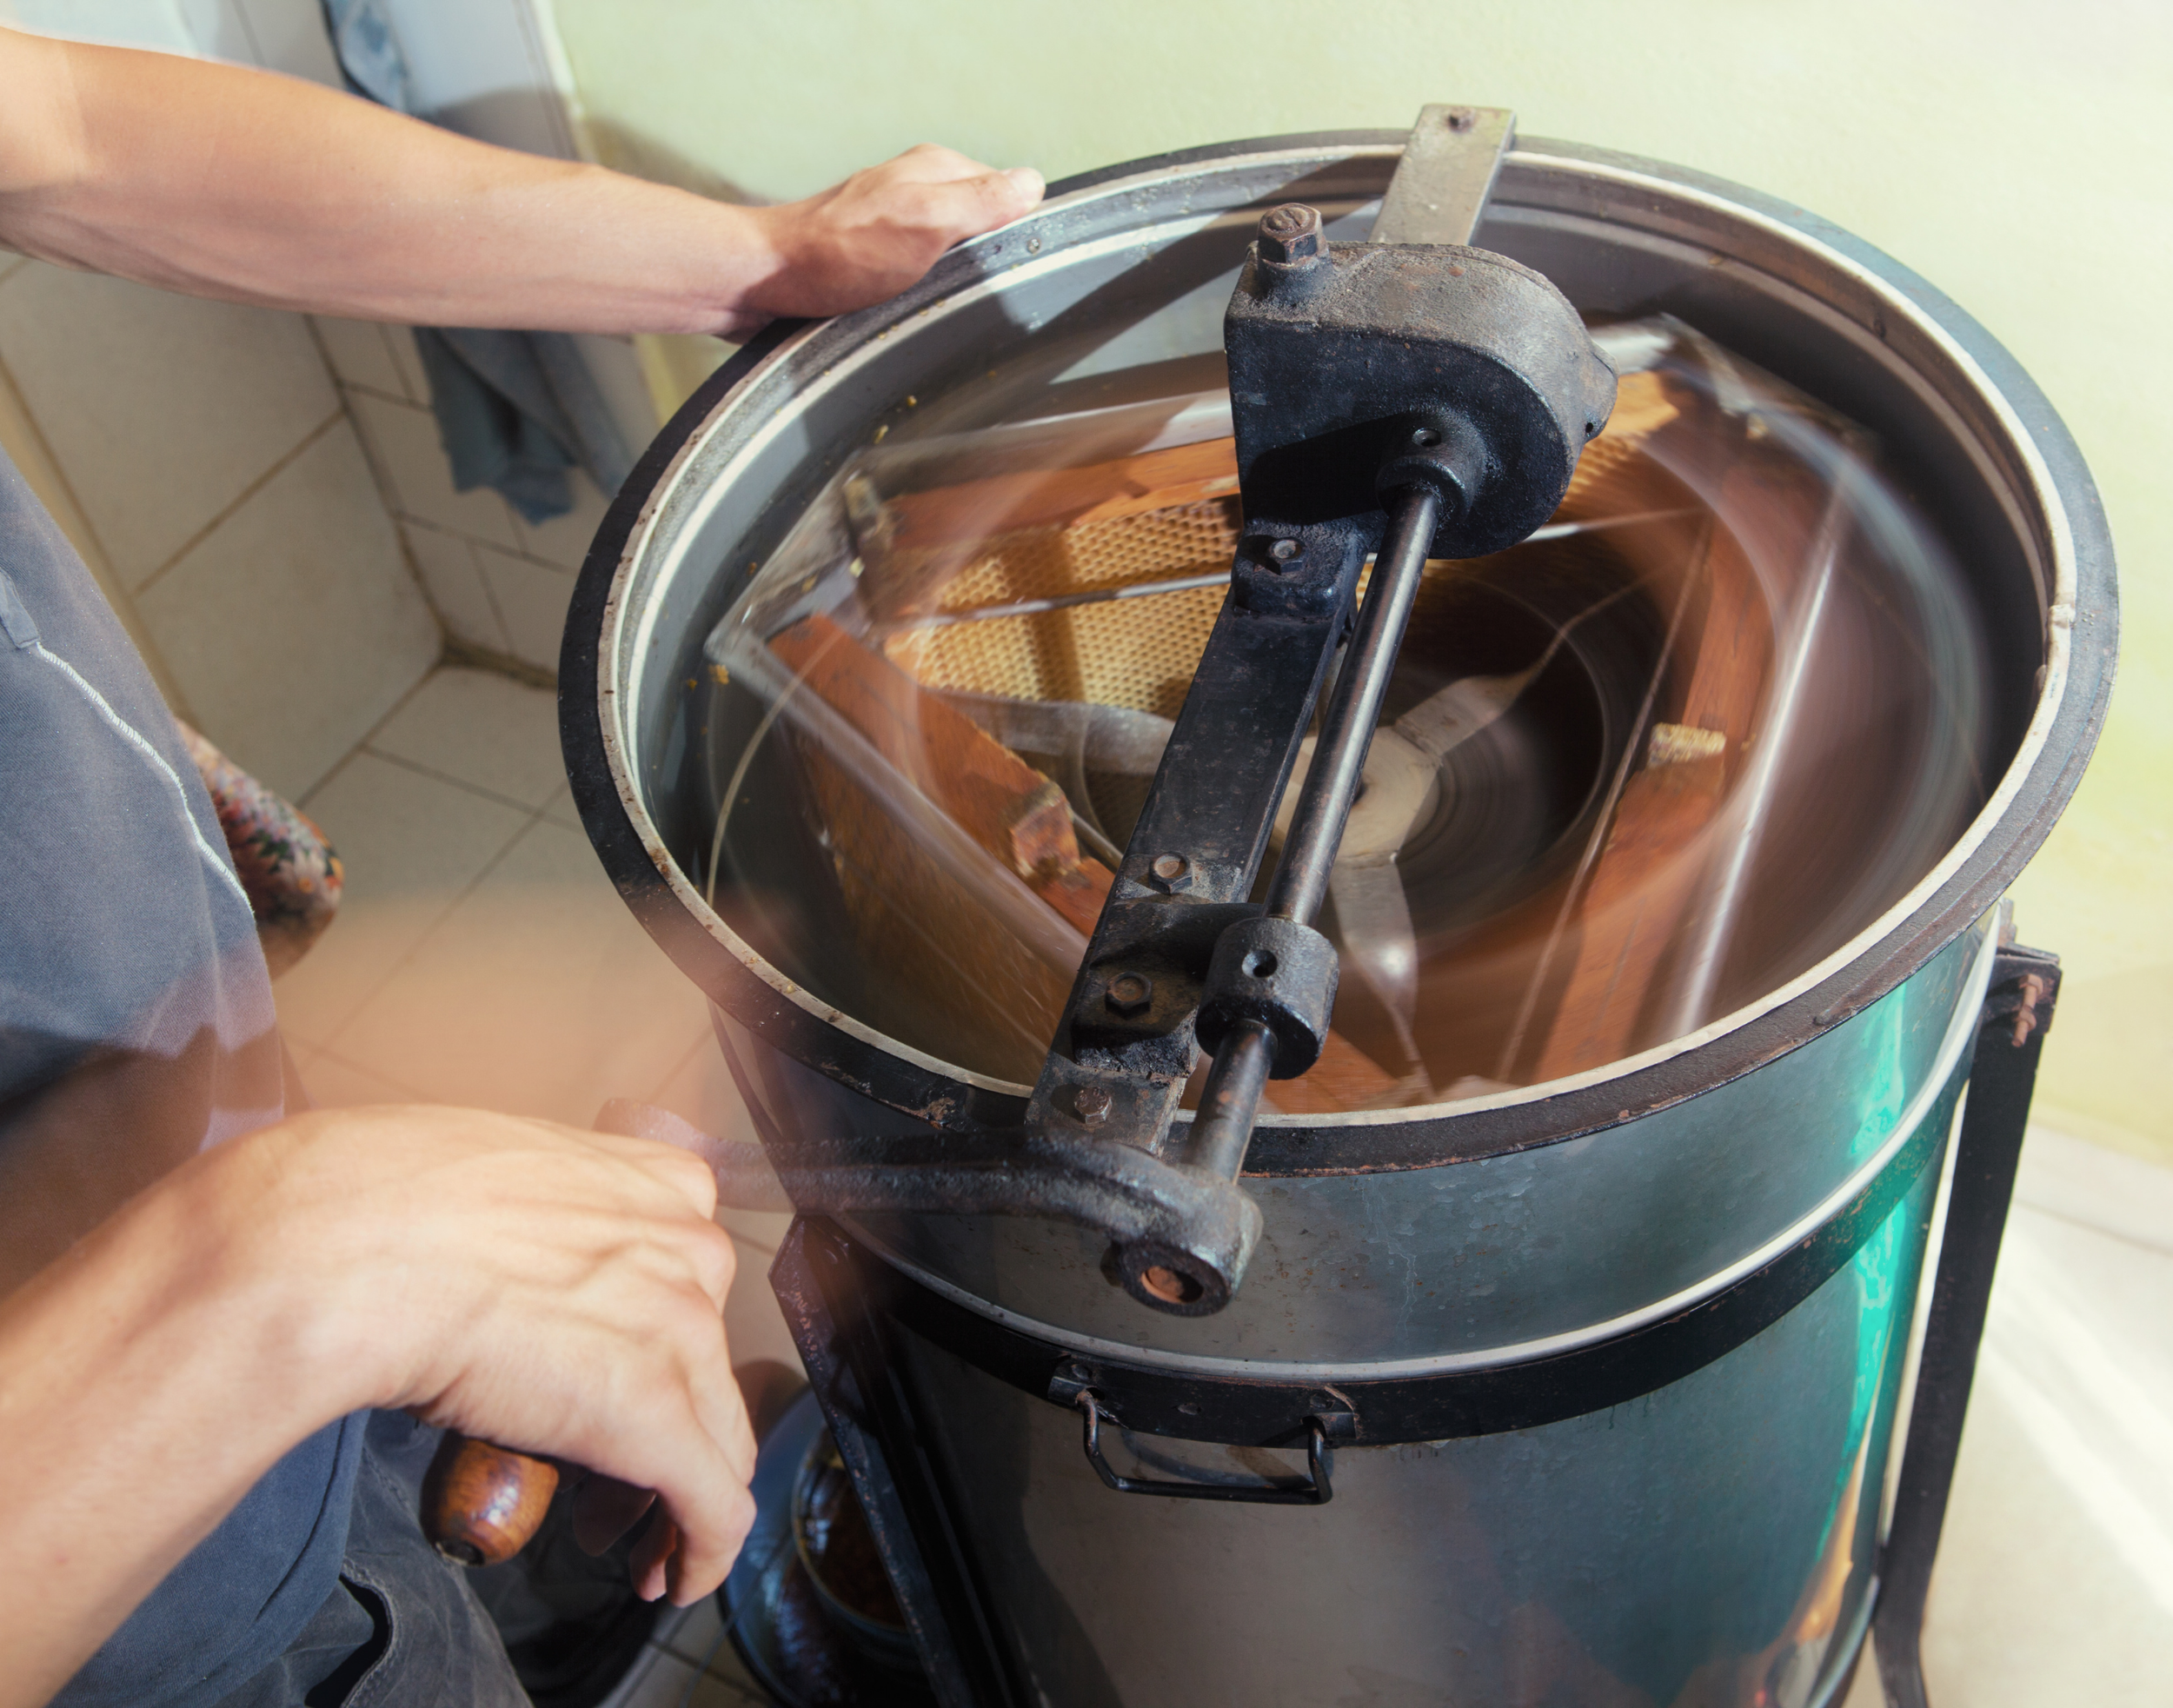
Step 4: Place uncapped frames in the basket of the extractor and begin to spin the frames.
Step 5: Open valve. The receptacle should contain some form of filter such as a filter cloth, strainer, or sieve.
Step 6: Filter honey and jar it. Once the honey has been filtered, allow it to settle so air bubbles and impurities can float to the top. Your honey is now ready to be packaged!
Step 7: Melt the wax. There is often a lot of honey and wax left in the cappings from the frames. Use a solar wax melter to collect wax from discards!
In areas of BC where the honey flow lasts until mid-August, extracted combs can be returned to the hive.
///
If you still have questions, don’t hesitate to ask your beekeeping community for advice or send us your questions to info@ttp-bchpa.ca or send us a DM on Instagram (@BC_TTP) or Facebook (@BC Tech Transfer Program).
